I have never made a C2C (Corner to Corner) project before. I recently learned the technique and I LOVE it.
Recently I have been on a quest to use most of the yarn that I have in my stash so I may make room for better quality yarn so I can make clothes for myself and others that will last a lifetime, investment yarn if you will. I love the idea of making all cardigans, sweater and yarn pieces myself so I am determined to do it!
To practice C2C, I made a lot of 8×8 squares to then sew together to make a blanket when I realized my stash has a dark and light color of each color of the rainbow. Why not make a whimsical, rainbow blanket?? The more I worked on this blanket the more I realized that it would be a lost opportunity if I didn’t write a pattern for it to share with all of you!
If you make use this pattern, please tag me on TikTok or Instagram! I am @crochetwithkathryn on both platforms. I would love to see what you create!
Happy crocheting 🙂
Materials:
– 5mm crochet hook
– Worsted weight yarn
— a light and dark color of all colors in the rainbow (red, orange, yellow, blue, purple, brown, black and grey)
– Tapestry needle
Abbreviations:
– ch(s) = chain(s)
– dc = double crochet
– sl st(s) = slip stitch(es)
Notes:
Pattern is written in US terms
For this blanket we will make a total of 36 C2C squares (2 of each color listed above)
The final measurements of the blanket are approx. ______ x _______
To begin the making the blanket, crochet 36 8×8 C2C squares, 2 in each color (Light and dark red, orange, yellow, green, blue, purple, brown, black, and grey
C2C Crochet Tutorial
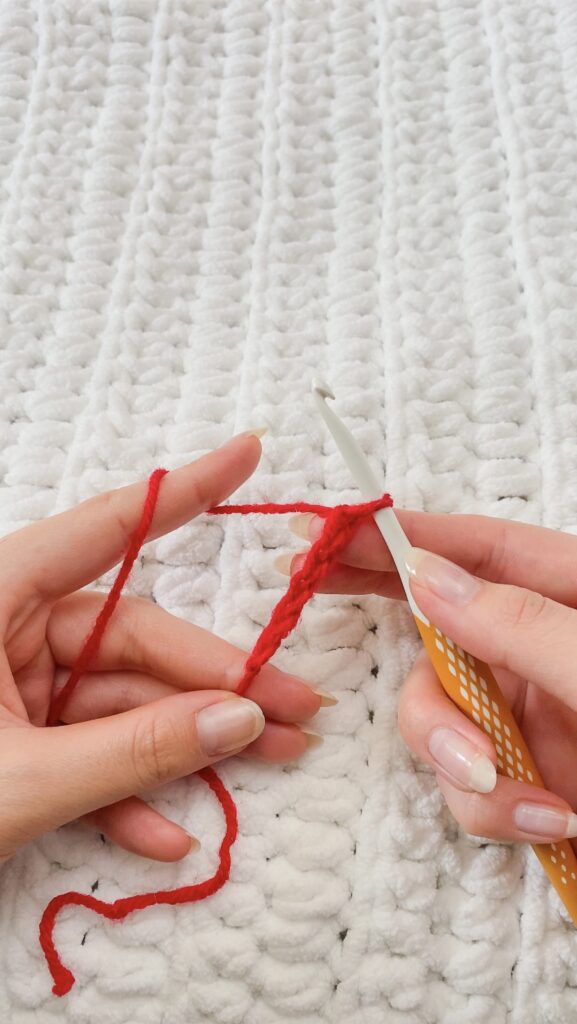
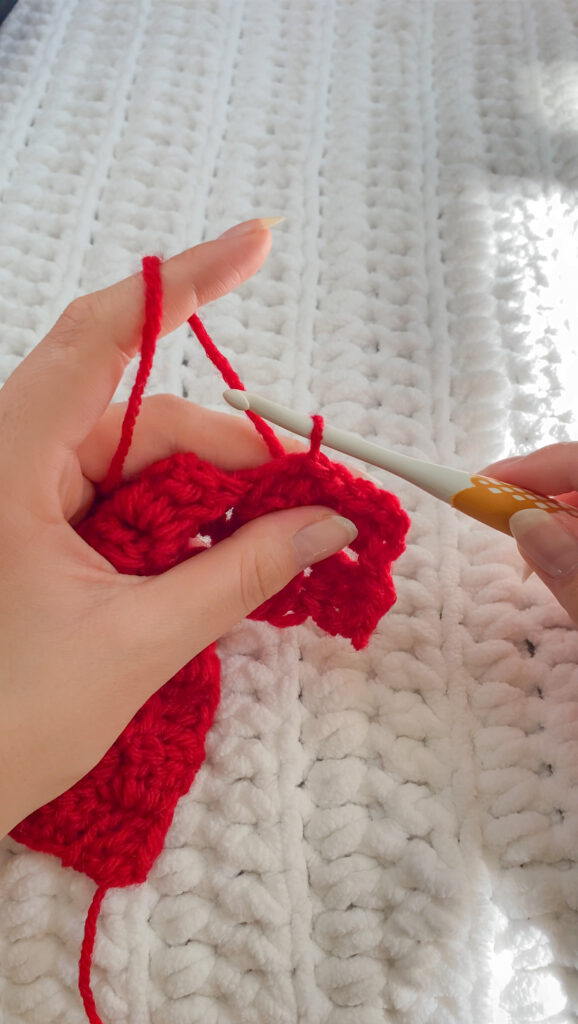
Starting C2C
Ch 5
Dc in the 3rd chain from the hook
Dc in the next 2 chs. This is the completed 1st square of the C2C square
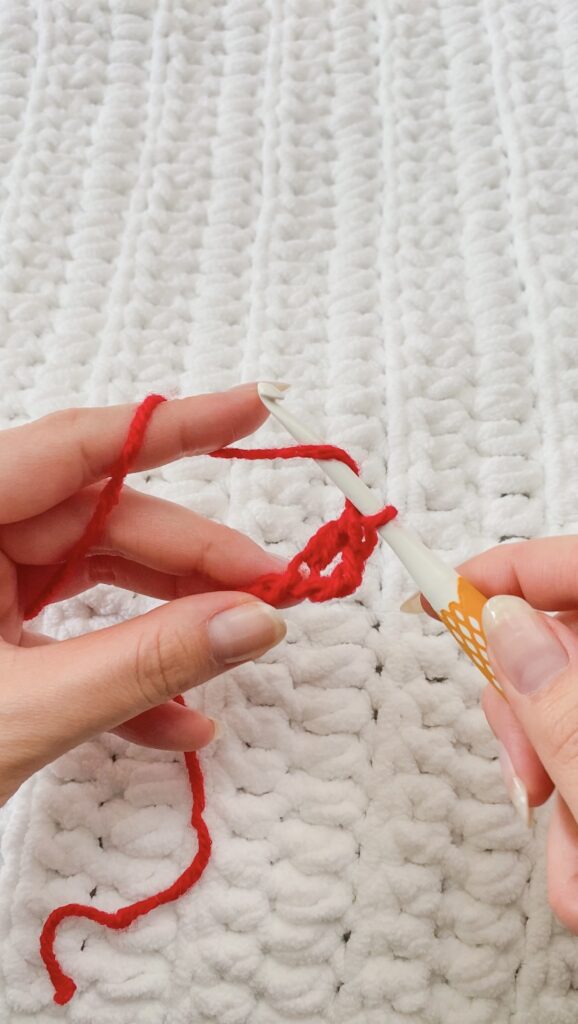
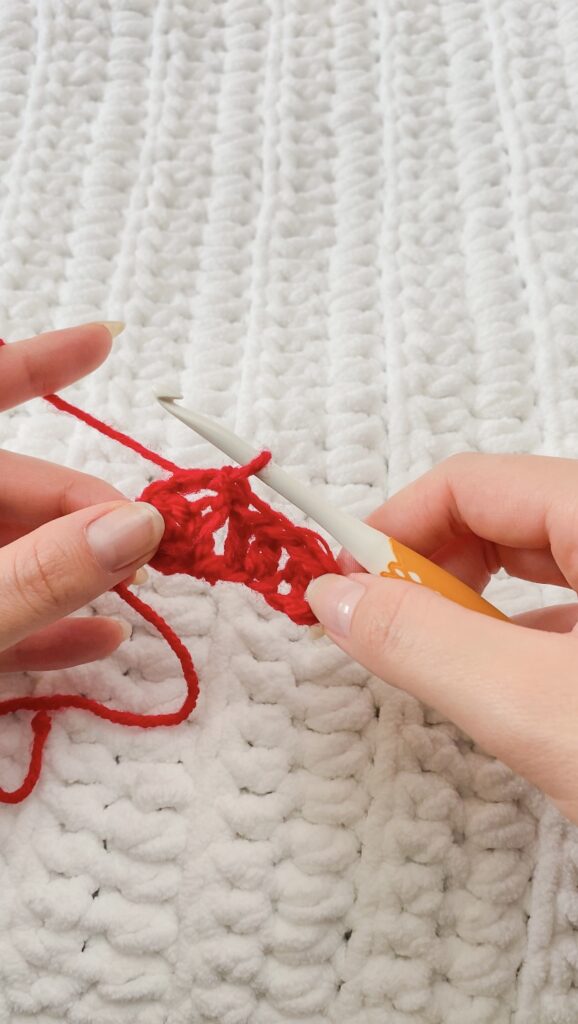
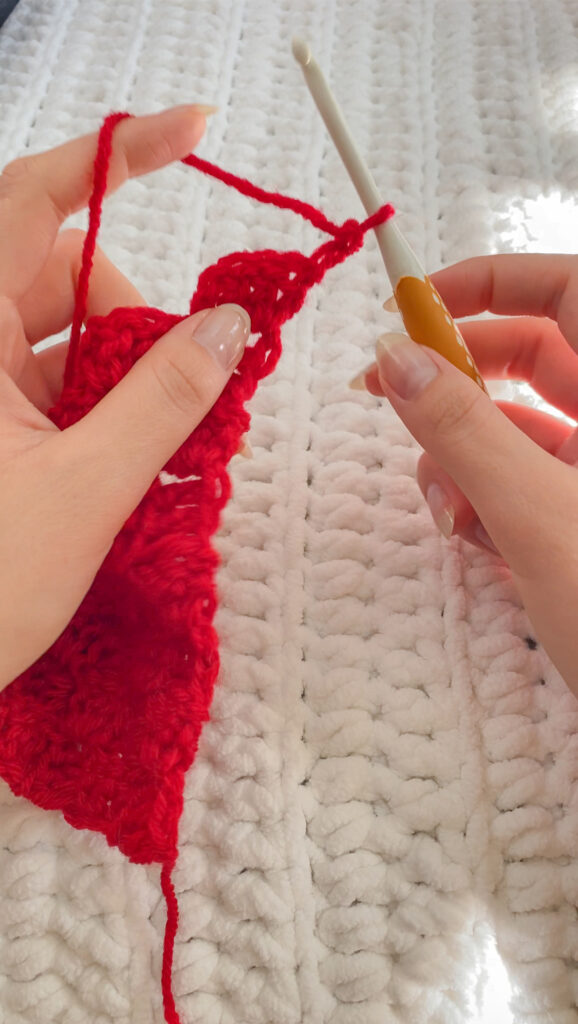
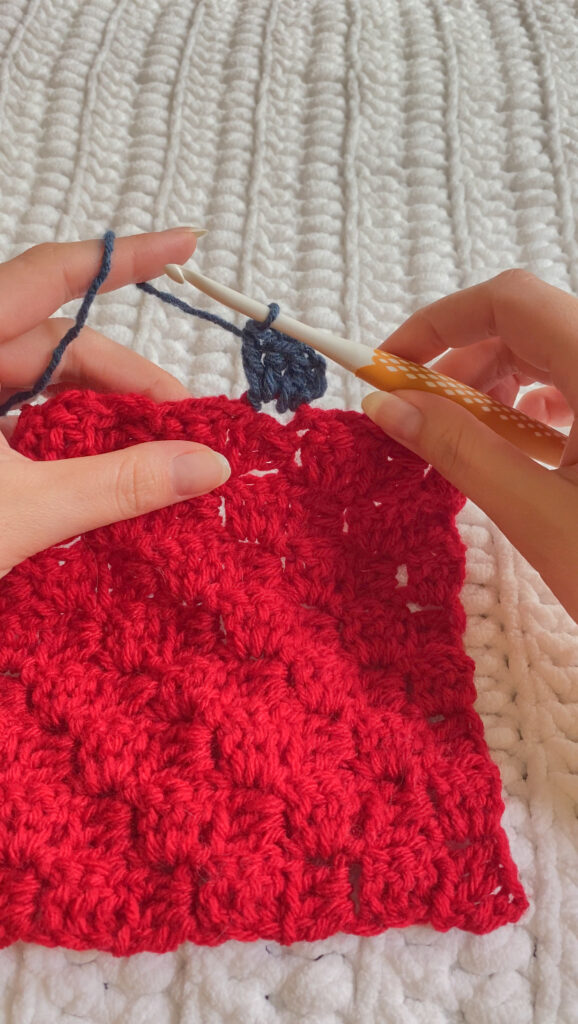
Ch 5 and turn
Dc in the 3rd ch from the hook and into the next 2 chs
sl st into the ch space between the 1st dc of the 1st square of the C2C and the chs
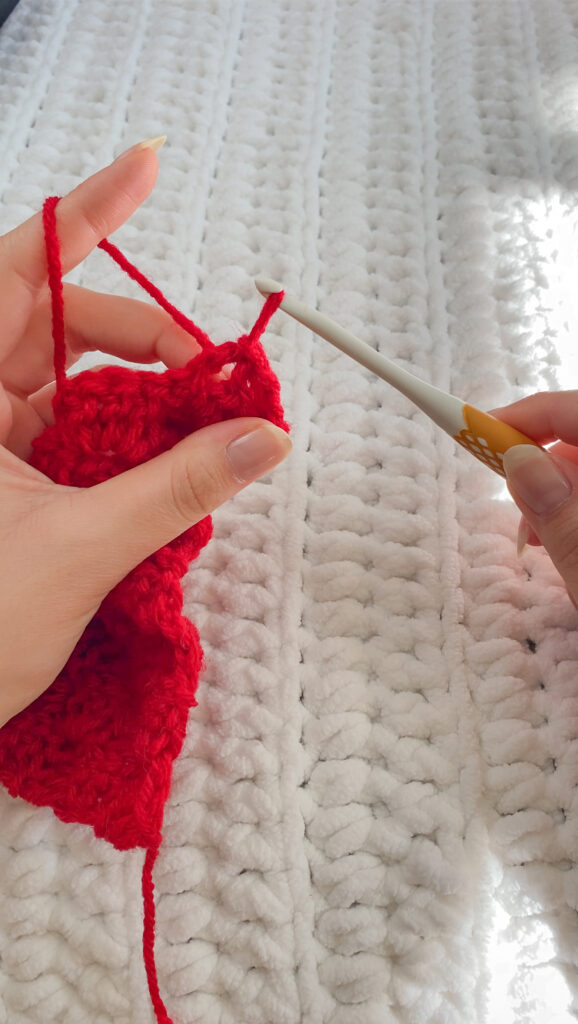
Ch 2
Plce 3 dcs in the ch space. This is the end of the second row
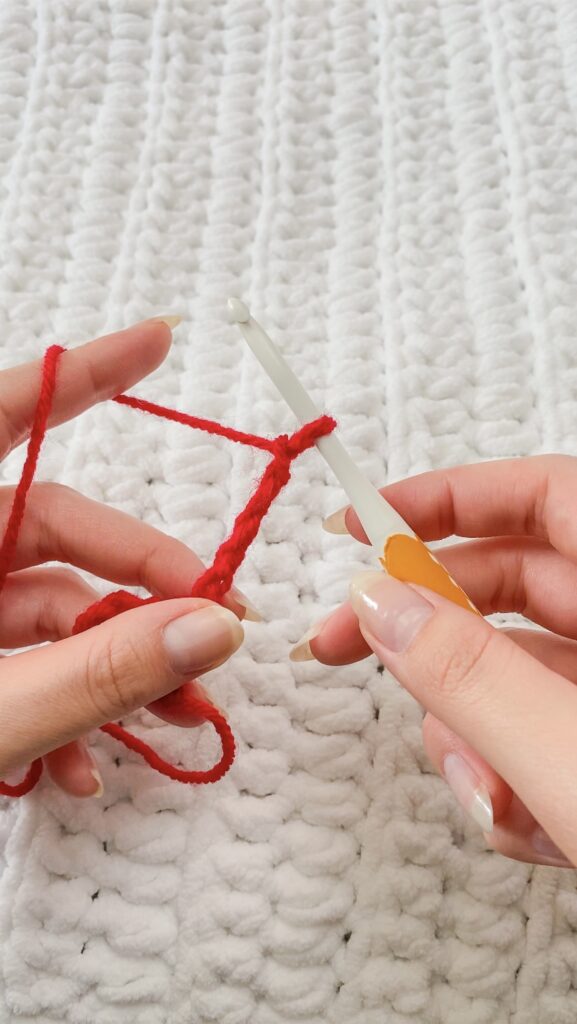
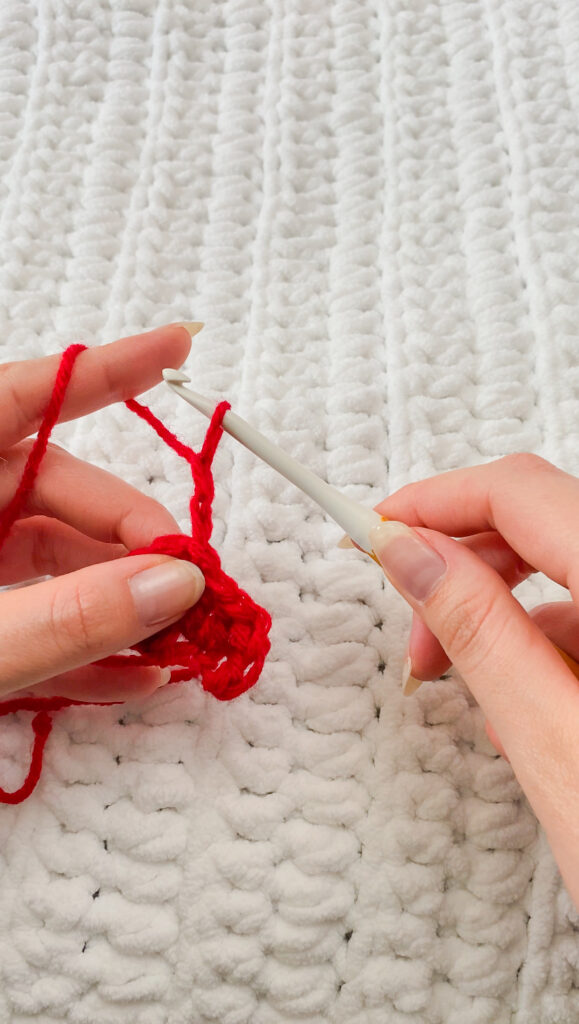
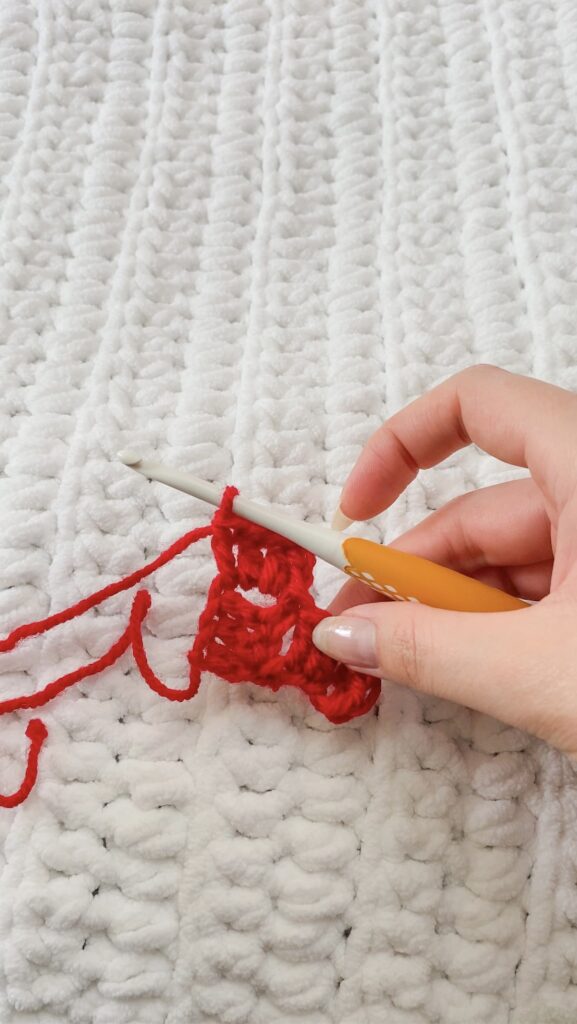
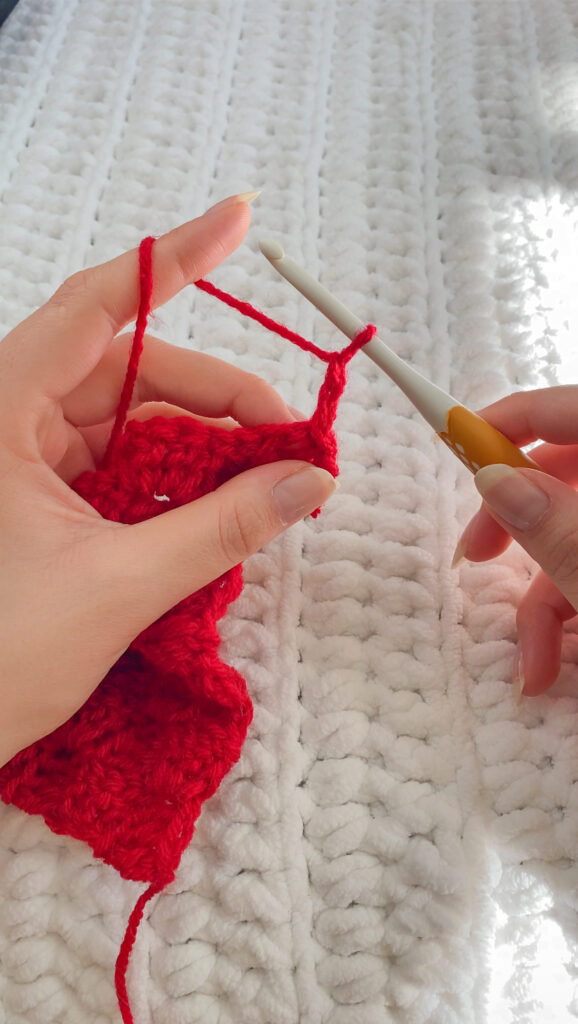
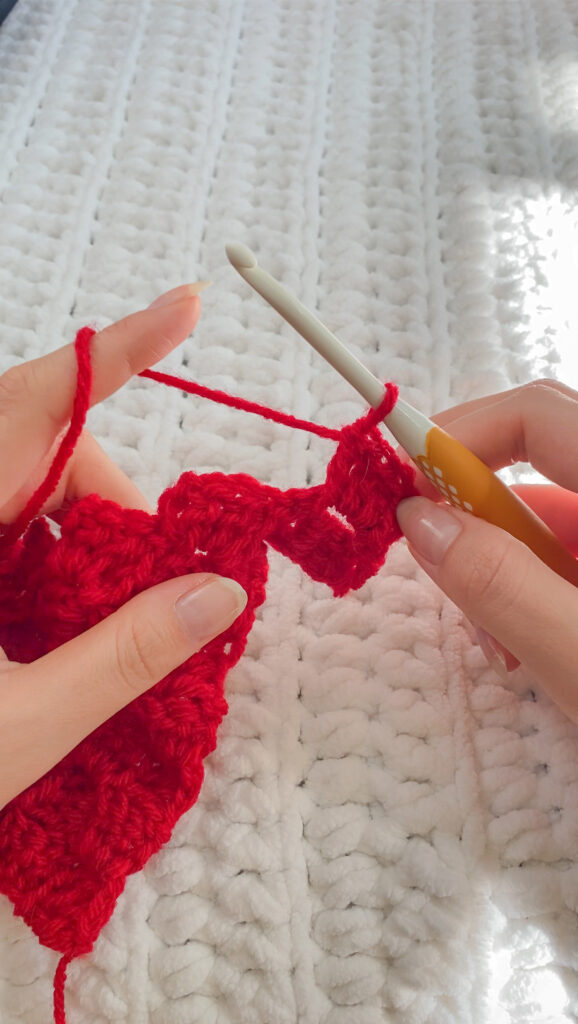
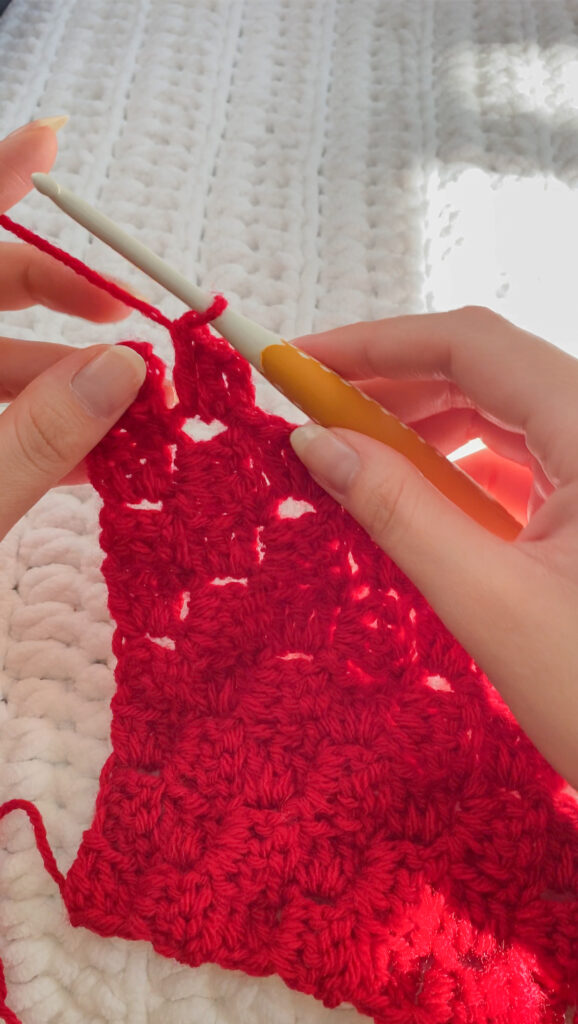
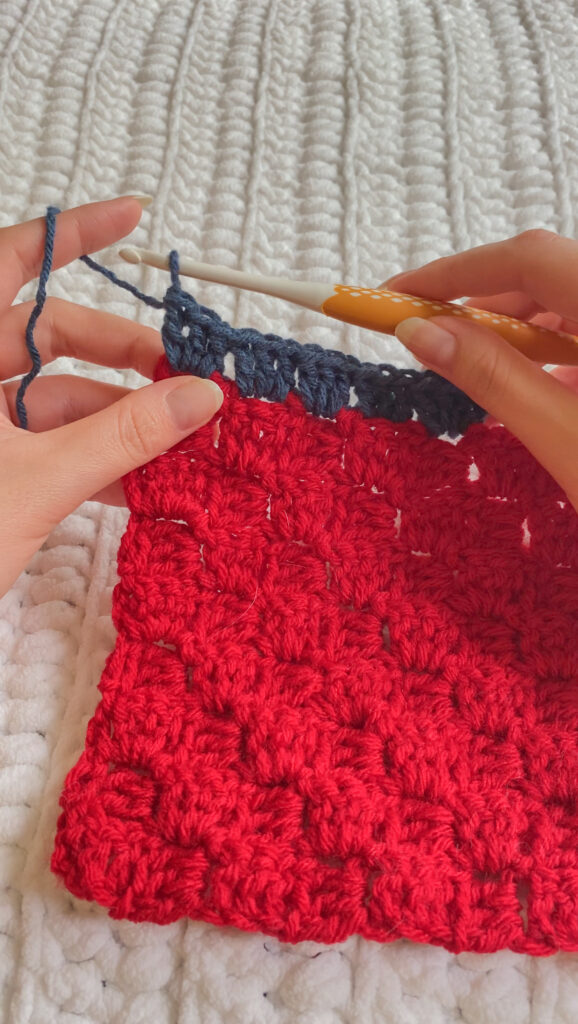
The steps to grow the C2C square are the same, however you will have to repeat steps pictured in the 7th-9th photos
To start each increase diagonal row, you will begin with a Ch 5
Repeat steps 5 – 10 until you reach a square with a height of 8 squares.
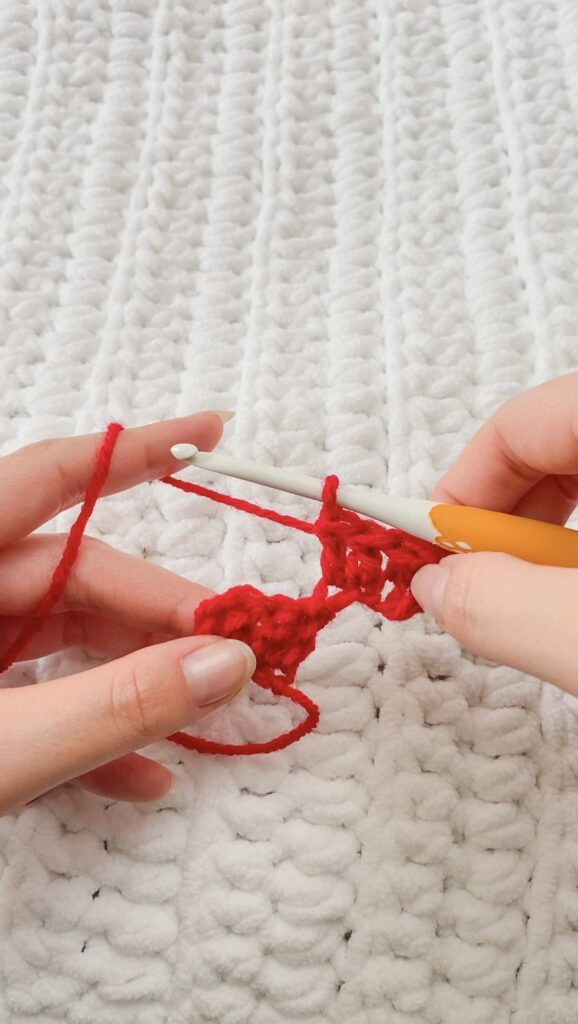
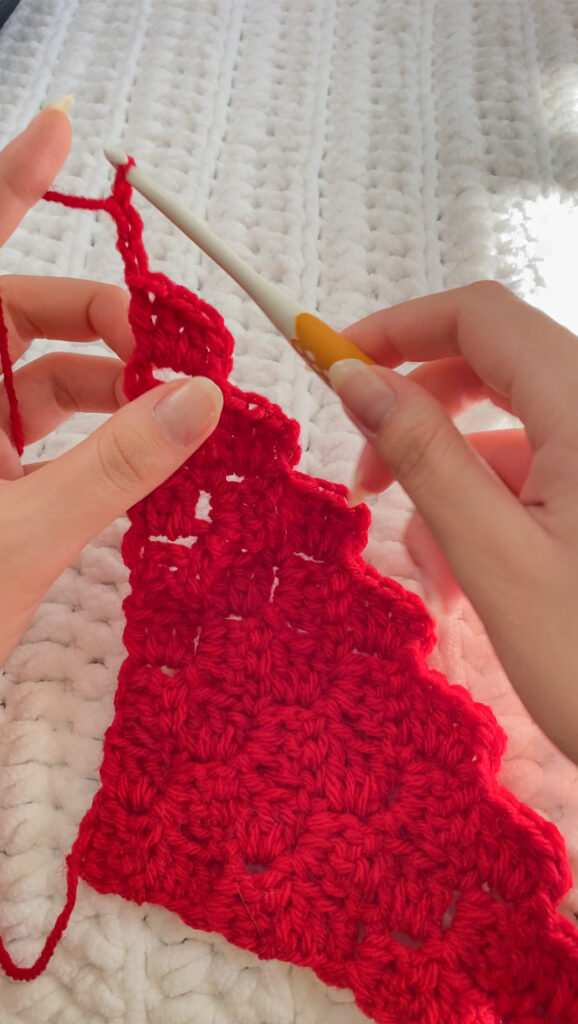
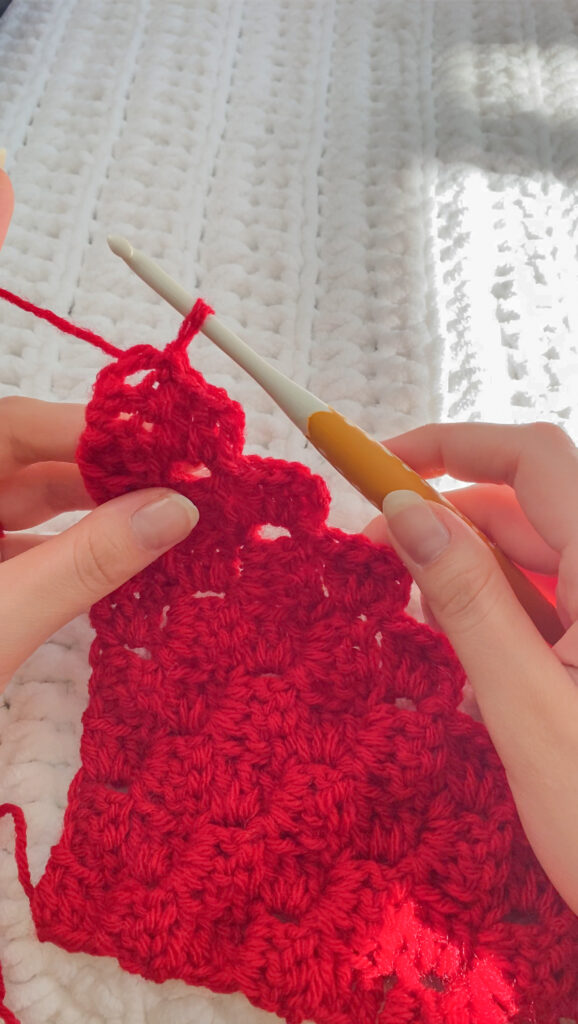
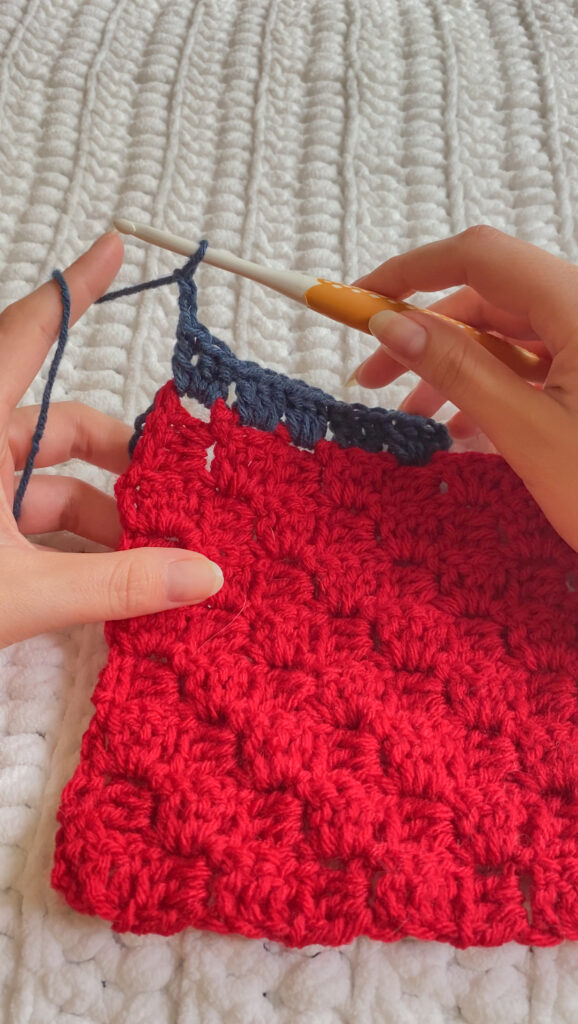
Decreasing in C2C
When you reach the top of the last row, ch 2
Turn your work
Sl st into the ch space of the last square in the increase row
Ch 2
Place 3 dc into the ch space
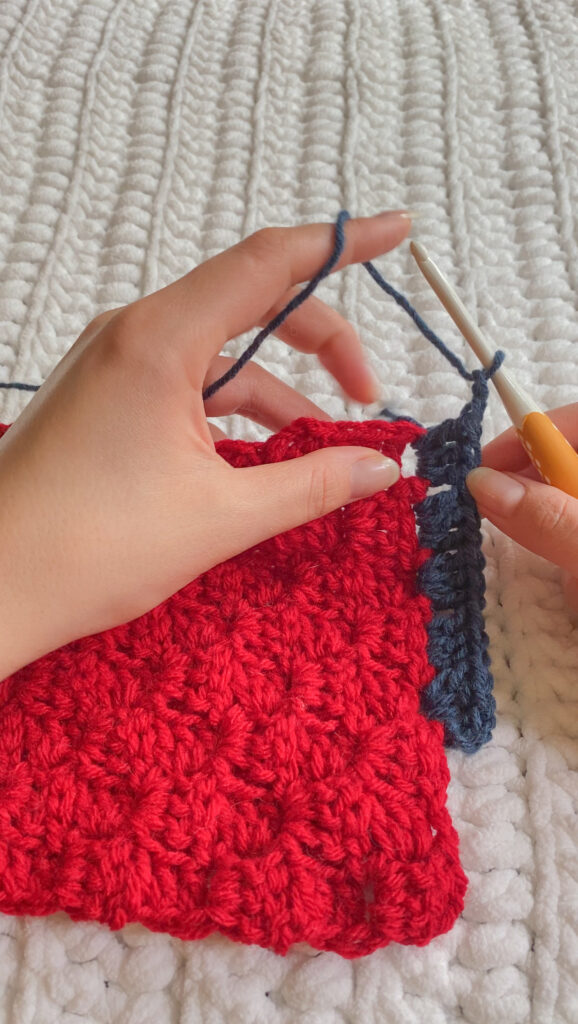
Sl st into the ch space the same height as your ch space
Repeat steps from Ch 2 to sl st until you reach the last square at the end of the row
Stop after you place 3 dc in the last ch space before the end
Sl st into the last ch space and you are finished with the decrease row. Repeat all decrease steps until you complete the square
Note: If this picture tutorial is still unclear, please see my Youtube tutorial
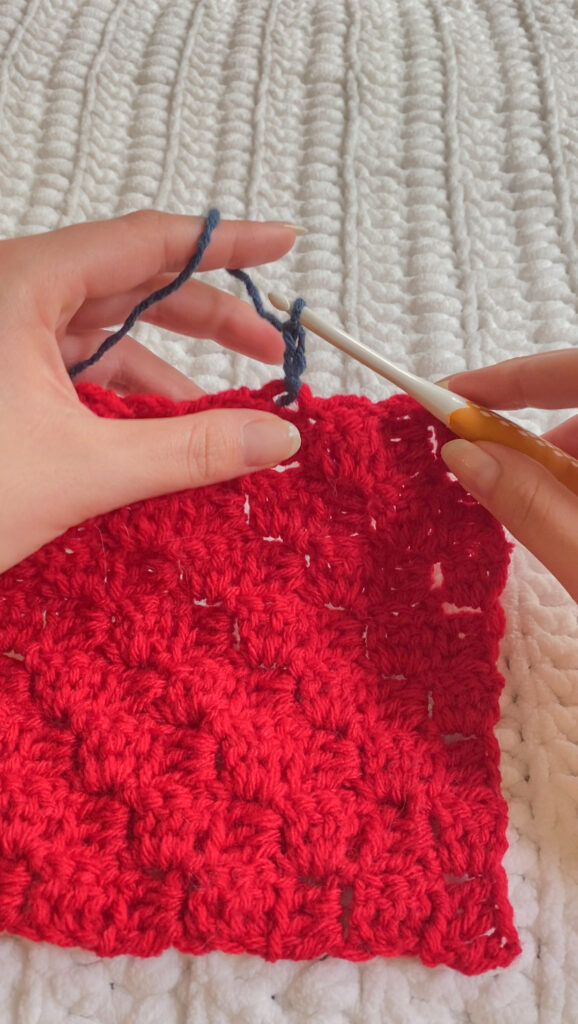
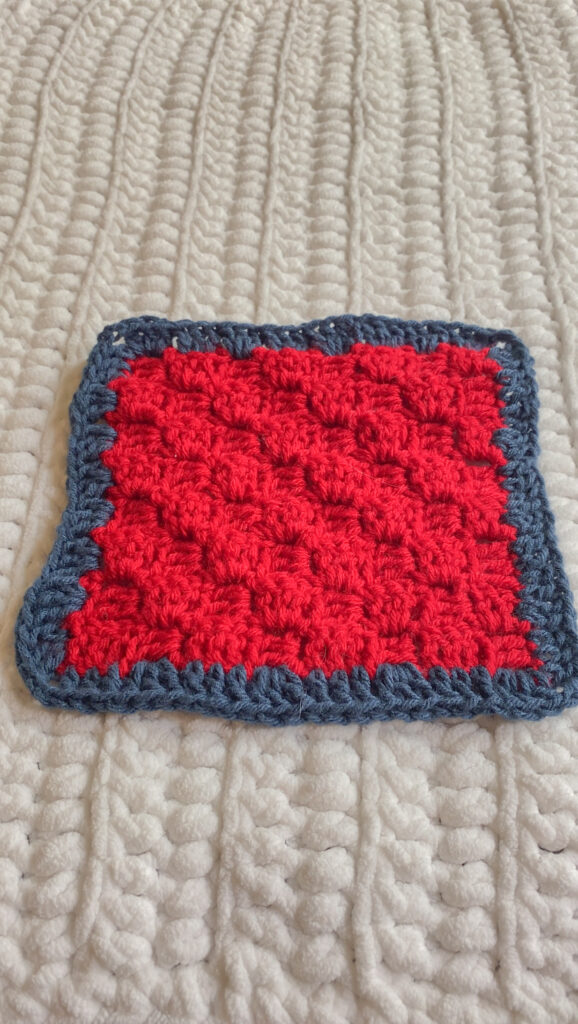
Square Border
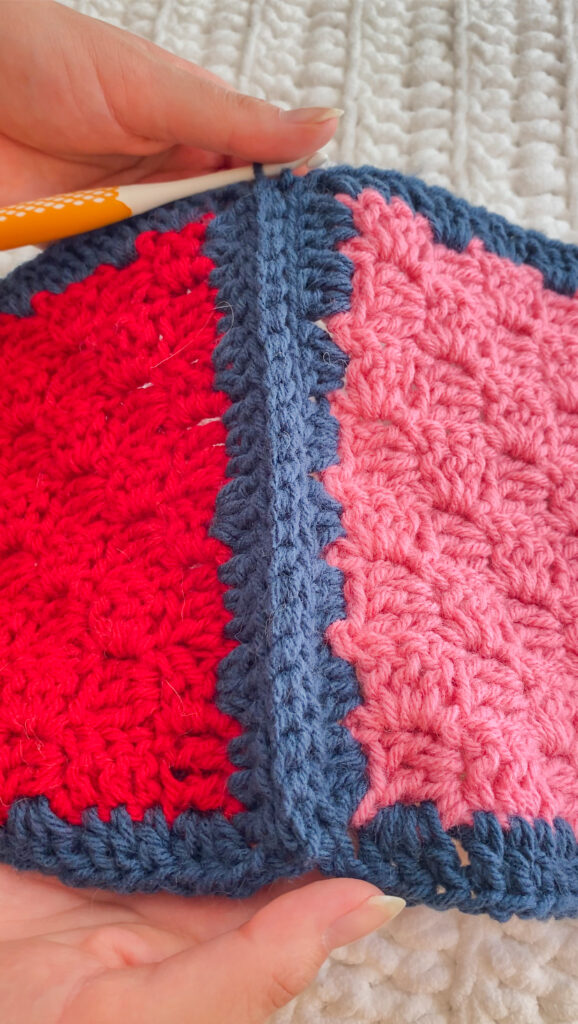
To make the blanket appear more uniform and easier to join all of the squares, we are going to create a border out of one color to border the squares
C2C is structured of many little squares made up of 3 double crochets stacked on each other. The structure makes it relatively easy to crochet a border around the C2C square. Two sides of the C2C square, there are chain spaces where we can place 3 double crochets for the border and the other two sides alternate between chain spaces (where we can place 3 double crochets) and the tops of the double crochets were we can place double crochets.
Worry not if that didn’t make sense! Please see below picture tutorial for further clarification
anchor your yarn in a chain space on the C2C square and ch 2 (this does not count as a stitch)
Place 3 dc in the chain space
Continue to place 3 double crochets on top of each C2C square whether in the chain spaces or in the stitches
Once you reach a corner, ch 2
Turn your work 90 degrees
Continue to place 3 dc on each of the C2C squares until you have finished the border. Fasten and weave in ends
Assembly
Feel free to use any method to sew the squares together you wish! Some of my favorite methods are:
– Mattress Stitch
– Slip Stitch
– Single Crochet
There are several other methods if you want a more interesting look!
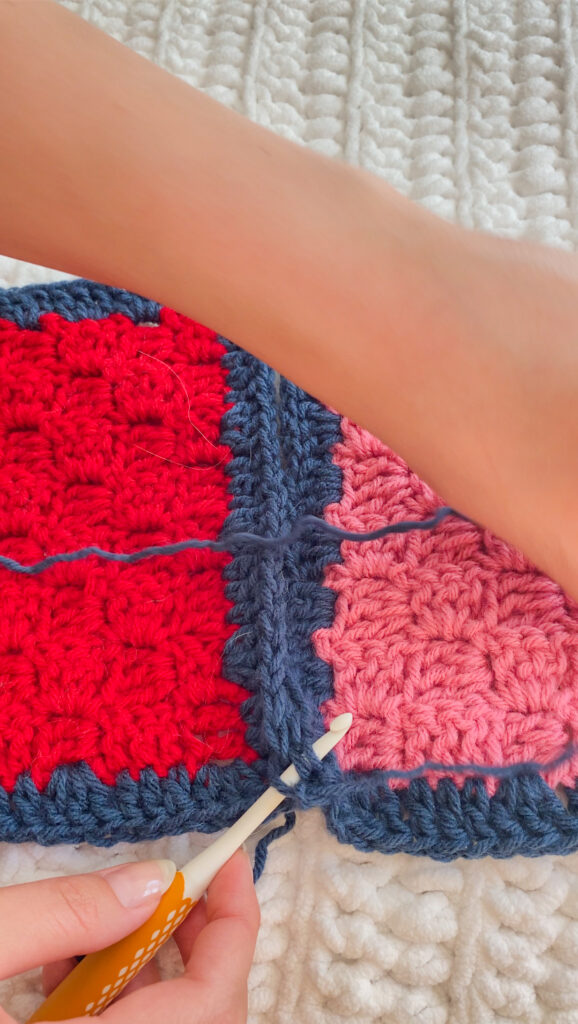
If you want your project to look exactly like mine, here is a picture tutorial:
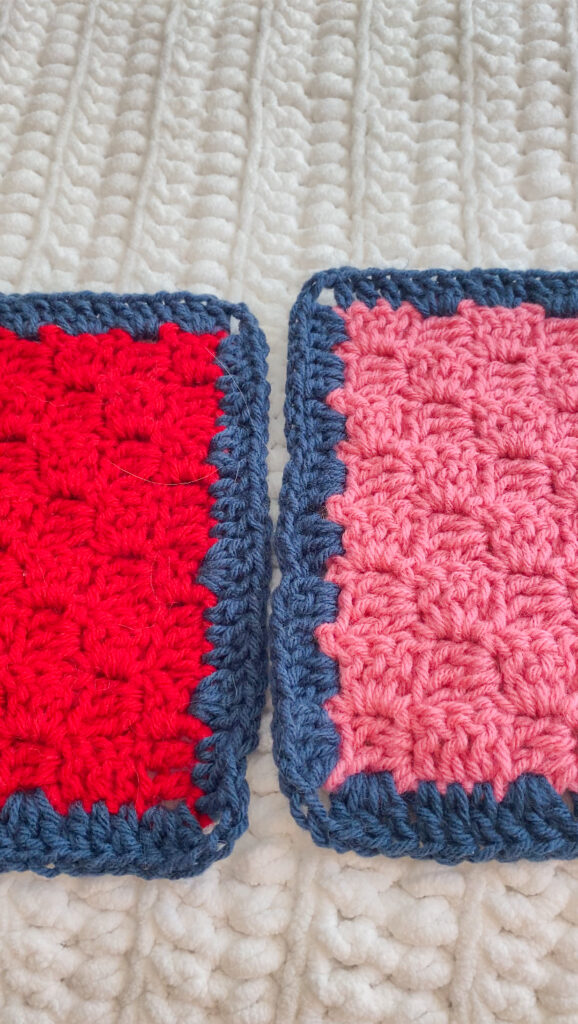
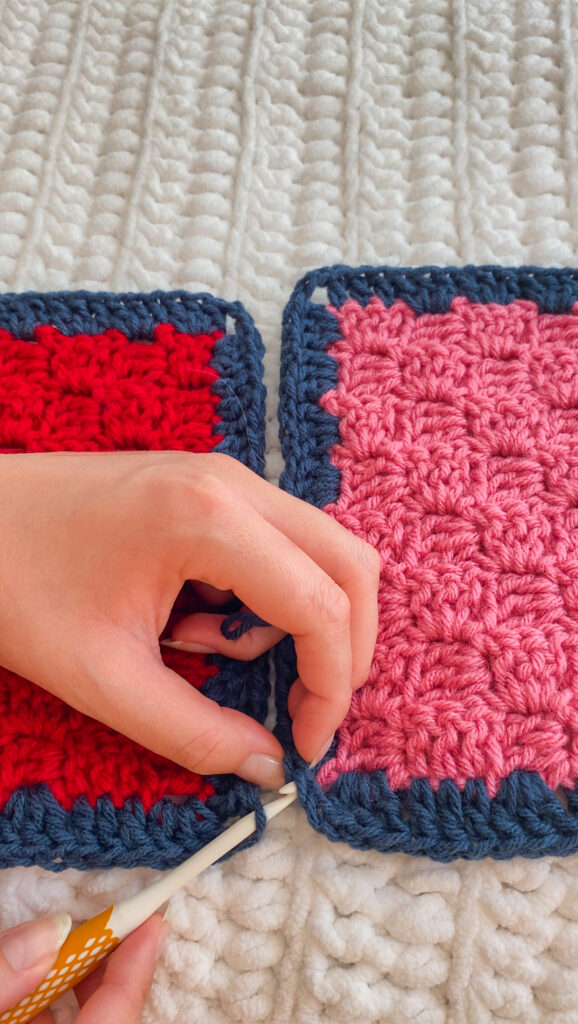
Line up the squares so the squares face the same direction
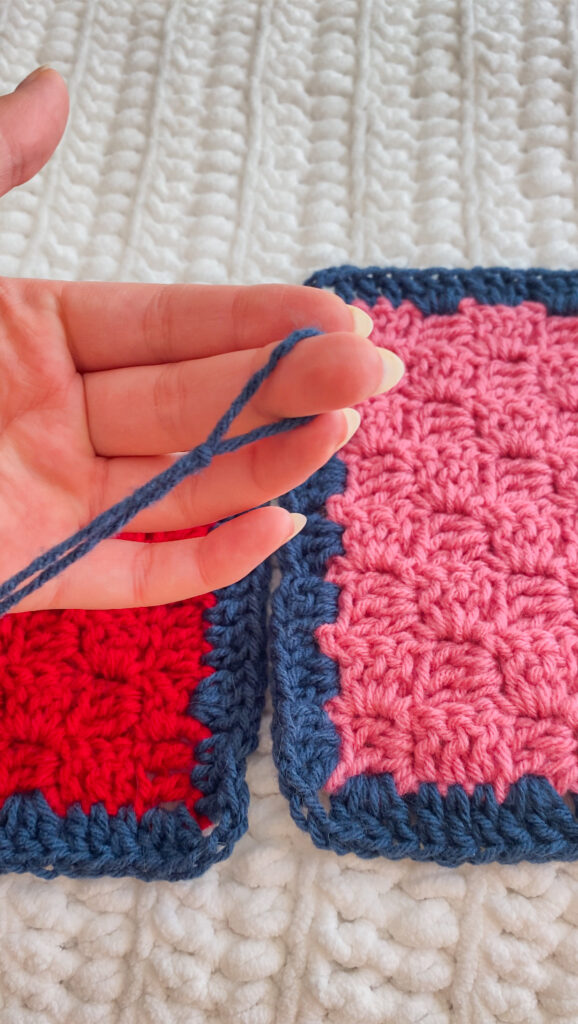
Make a slip knot
Locate the ch 2 of the corners of of the border
The 2nd ch is the 1st stitches we will use to connect the squares
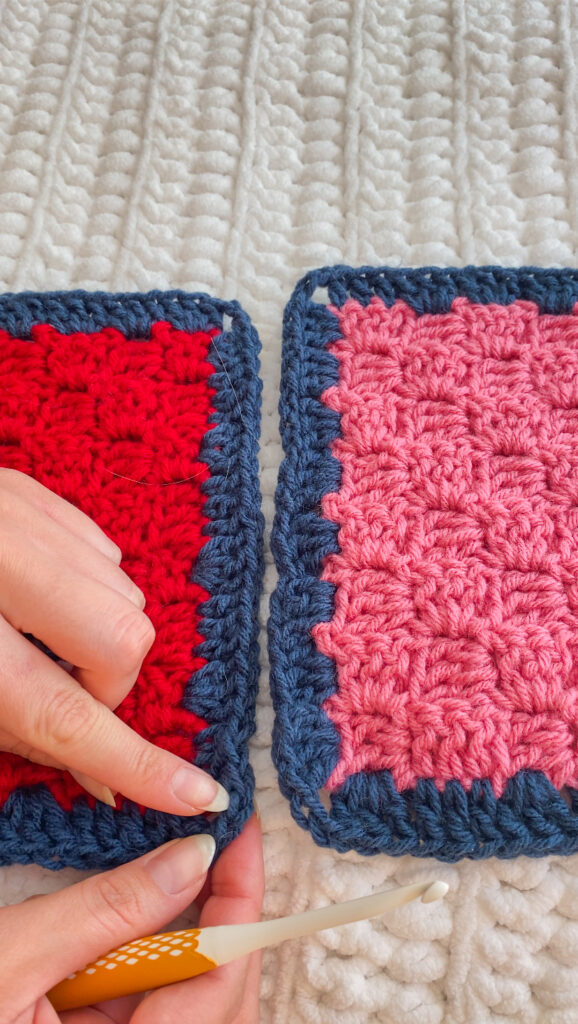
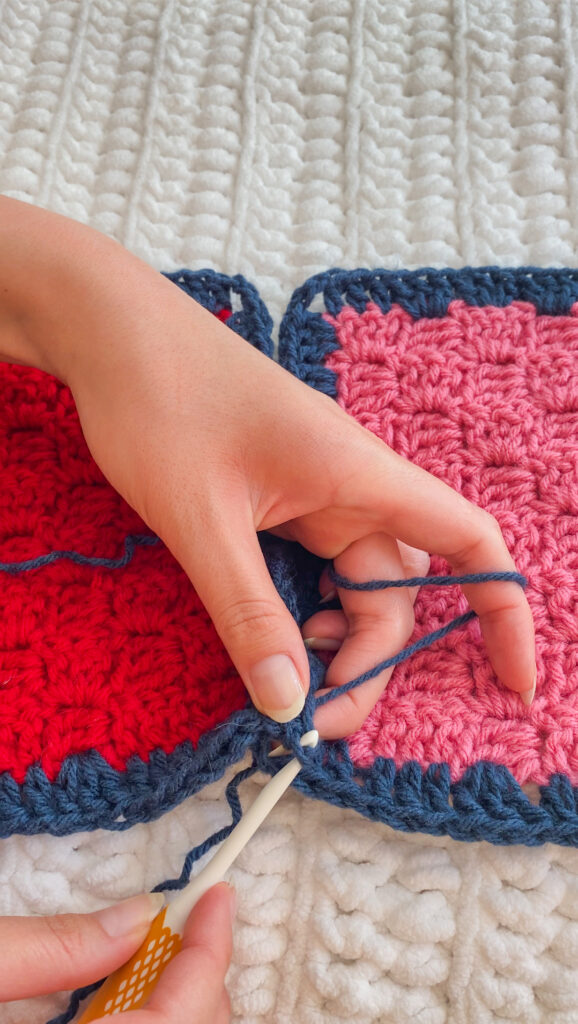
Insert the hook through the posts of the “V” of the stitch closest to the middle/ closest to each other
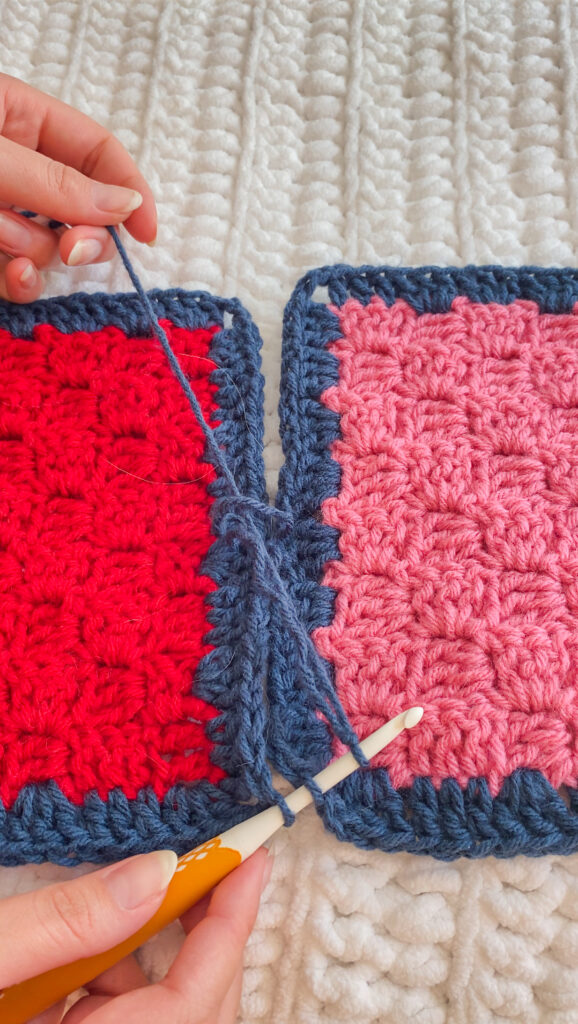
Place the slip knot on the hook
Pull the slip knot through the two loops on the hook
Yarn over and pull it through the loop on the hook. This will secure the 1st stitches together
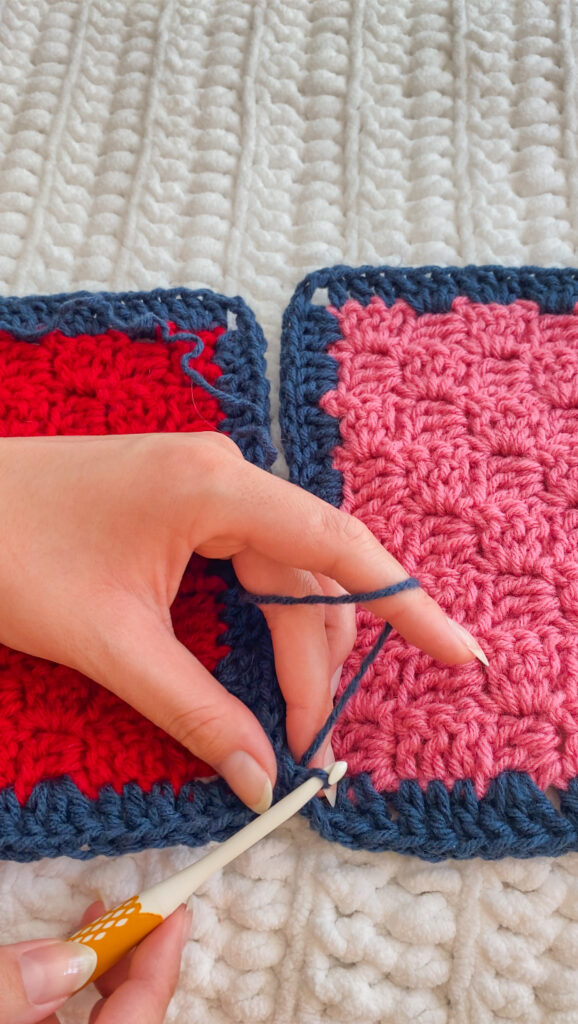
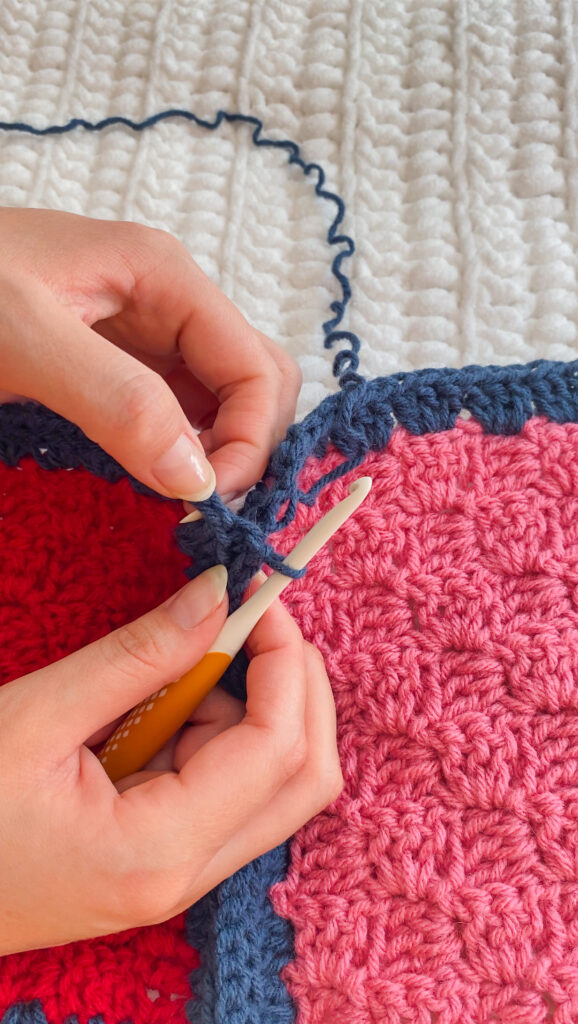
Place your hook through the posts of the “V” of the stitch closest to each other of the next stitch
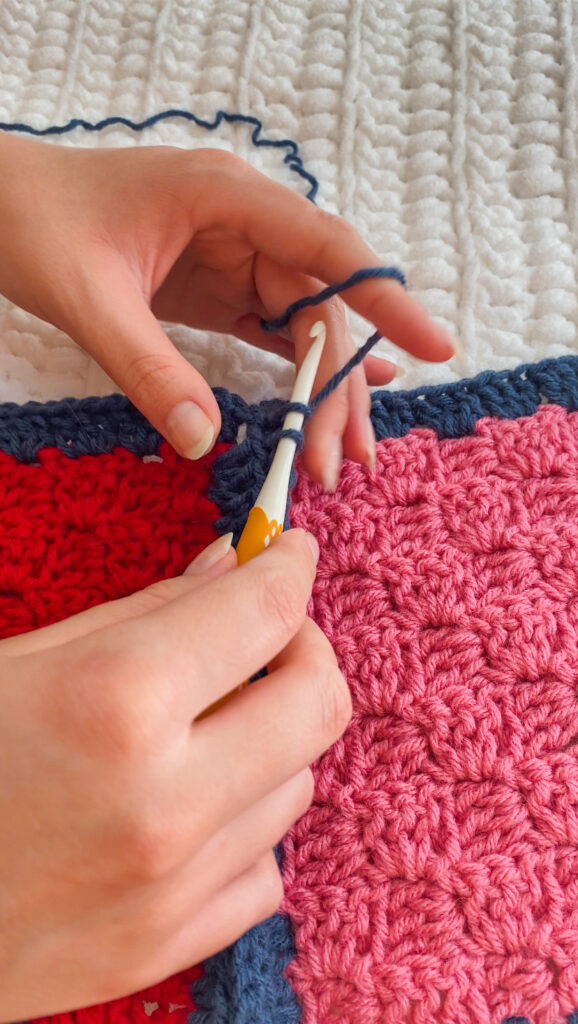
Slip stitch the stitches together
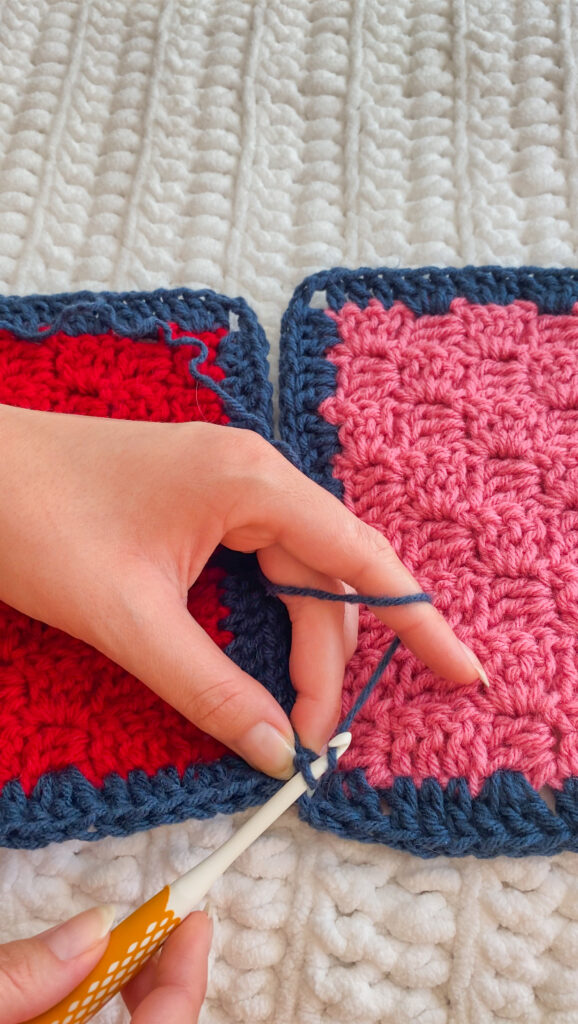
Continue to slip stitch the squares together until the ch 2
Once you reach the 1st of the ch 2, this is the LAST stitches that you will join
Once joined, you can fasten off and weave in ends or continue to sew other squares together
Continue to join all 36 squares together and weave in all ends
All joined without ends woven in
All joined with ends woven in
Blanket Border
Camel stitch – my favorite and my border of choice
picture tutorial
You are free to sell any completed items made from this pattern so long as I am credited for the pattern in the description of the item, and on social media posts. The completed items may be sold, but not mass produced.
You may not sell my patterns or claim them as your own.
Disclaimer:
Some of these links are affiliate links and I will receive a commission for any purchase you choose to make through these links at no additional cost to you.
As an Amazon Associate I earn from qualifying purchases.